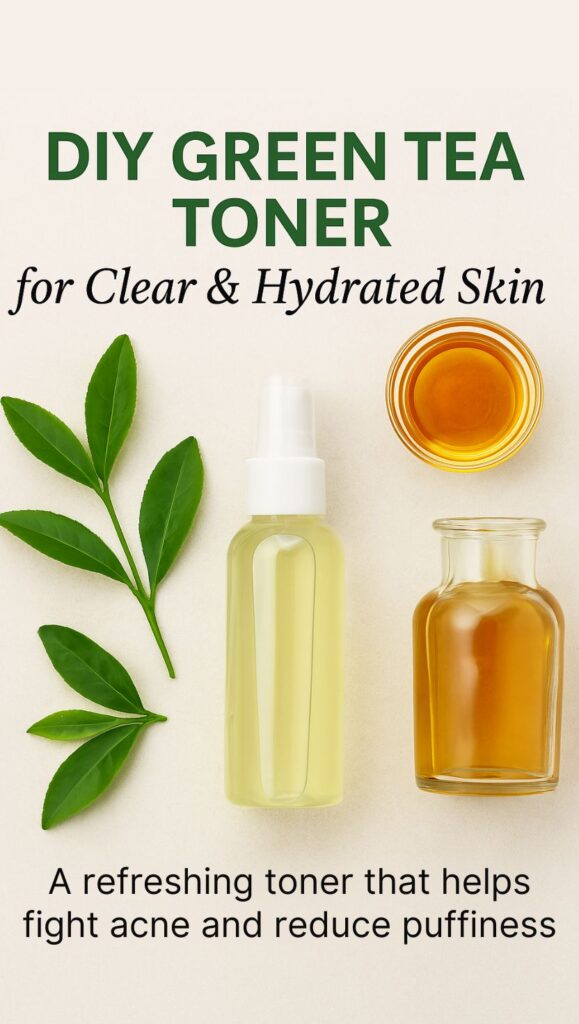
Looking for a skincare toner that’s gentle, natural, and actually works? This DIY green tea toner is about to become your new go-to.
Whether you’re dealing with acne, puffy skin, or just want something that leaves your face feeling clean and hydrated, this simple toner checks all the boxes. Bonus: it smells amazing and can double as a refreshing toner pad solution!
Let’s break down how to make this skin-loving green tea toner from scratch using just a few pantry staples.
I get commissions for purchases made through some of the links in this post. There is no extra cost to you. See my full disclosure here.
Why Green Tea Toner Should Be in Your Skincare Routine
Green tea is a powerhouse in the world of green tea skin care. It’s packed with antioxidants that fight free radicals, which means it helps slow down signs of aging.
Combined with apple cider vinegar and a humectant like honey or witch hazel, you’ve got yourself a skincare toner that hydrates, tones, and balances your skin—all without harsh chemicals.
This DIY is especially great as a toner for combination skin. It gently exfoliates, tightens pores, and leaves your skin feeling refreshed without stripping away natural oils.
Supplies You’ll Need
To make your own hydrating toner at home, here’s what you’ll need:
- 1 cup of brewed green tea (cooled)
- 1 tablespoon of honey (for dry skin) or 1 tablespoon of witch hazel (for oily skin)
- 20 ml raw, unfiltered apple cider vinegar (with “the mother”)
- Small funnel
- 60 ml glass spray bottle or toner bottle
- Optional: cotton rounds if you want to make your own toner pads

How to Make Your Green Tea Toner (Step-by-Step)
This simple toner comes together in minutes. Just follow these easy steps:
1. Brew the Green Tea
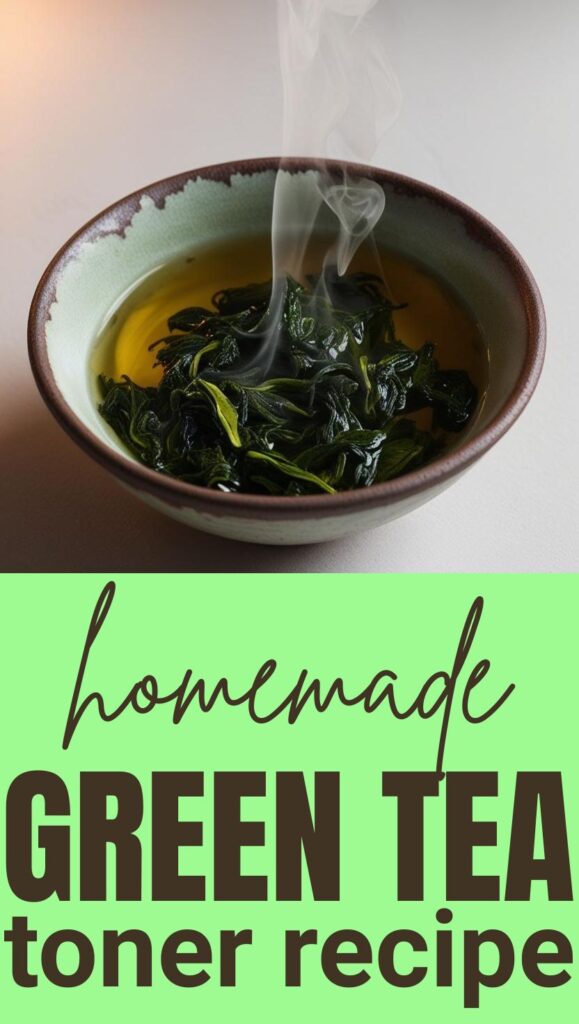
Start by brewing your favorite green tea and let it steep until it’s strong and full-bodied. You’ll need about one cup. Let it cool completely.

2. Mix in Honey or Witch Hazel
Once the tea is cool, stir in a tablespoon of honey (for dry skin) or witch hazel (for oily or acne-prone skin). Both act as humectants and help keep your skin hydrated and balanced.
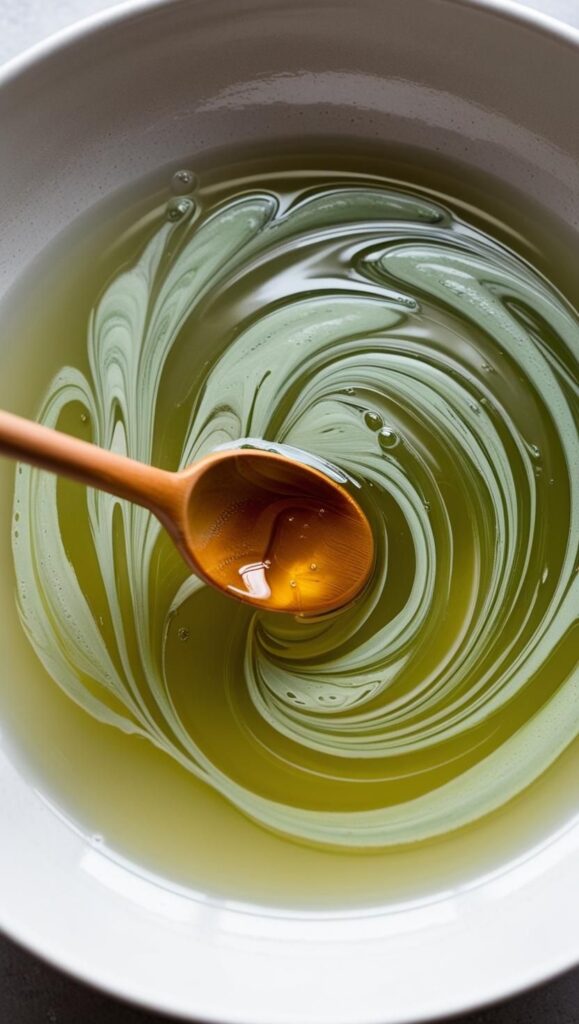
3. Add Apple Cider Vinegar
Measure 20 ml of raw, unfiltered apple cider vinegar and add it to the mixture. This ingredient helps refine skin texture, shrink pores, and gently exfoliate thanks to its natural acids.
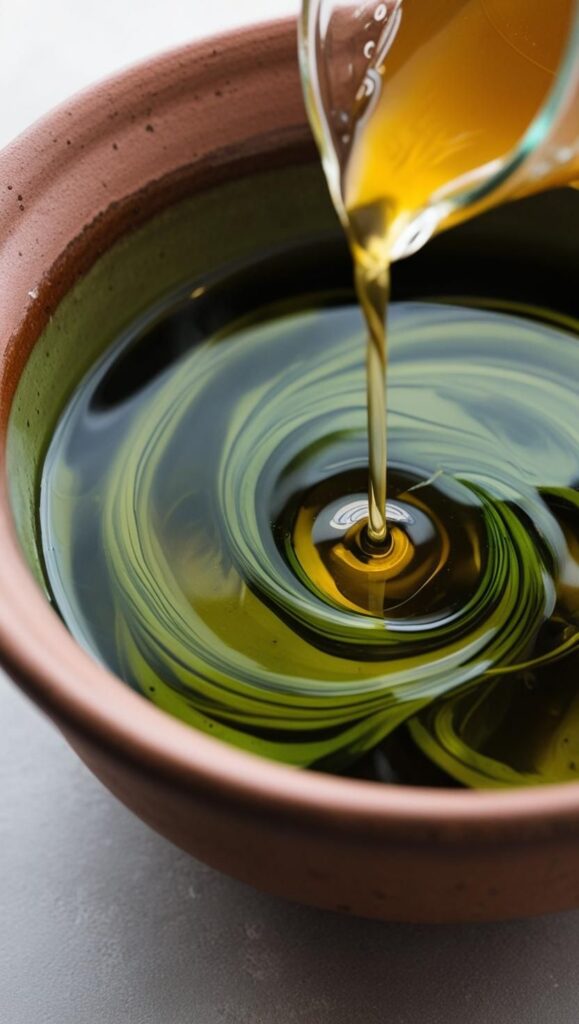
4. Stir and Bottle
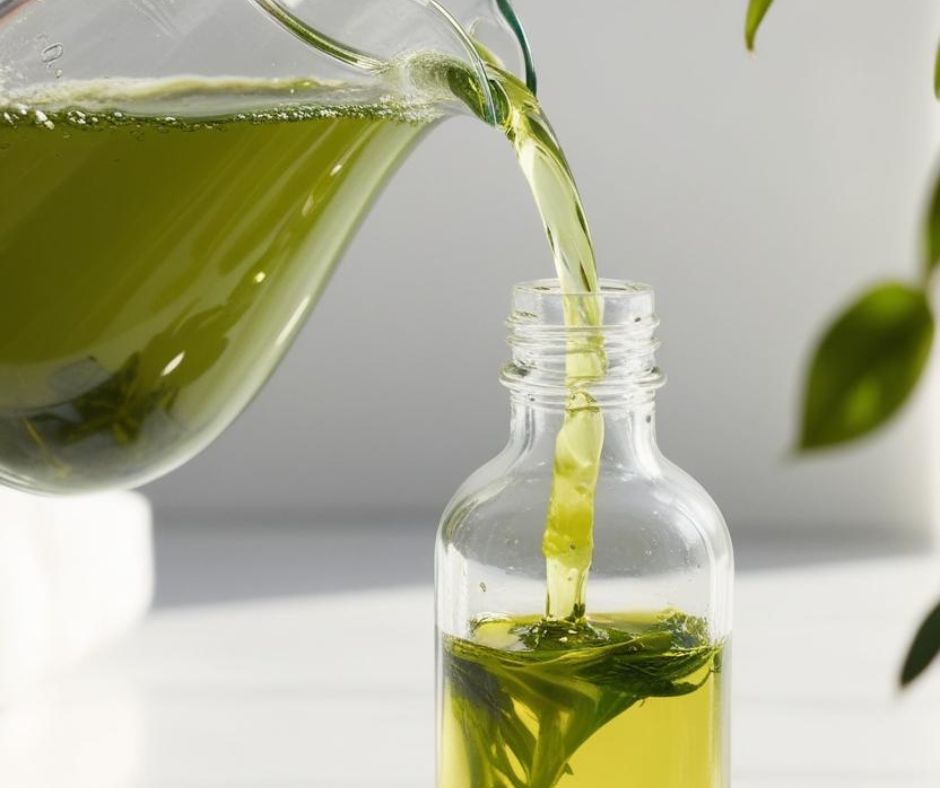
Stir everything together and use a funnel to pour the mixture into a clean 60 ml bottle or spray container. Keep the toner refrigerated and use within two weeks.

5. Apply with Toner Pads or Spritz
Soak cotton rounds in the mixture for easy-to-use toner pads or spritz it directly onto your face after cleansing. It also works beautifully under your favorite green tea perfume or cucumber toner for a layered skin care solution.
Extra Tips for Glowing Skin
- Want a little extra cooling effect? Pop the toner in the fridge for 10 minutes before using it.
- Use this skincare toner morning and night for best results.
- Don’t toss the leftovers! You can use it as a scalp rinse to fight dandruff or even a refreshing foot soak.
Watch the Full Video Tutorial
For a visual walkthrough of this recipe, check out the original YouTube video:
Your Skin Deserves Simple, Powerful Care
If you’re anything like me, you don’t have time for a 10-step routine—but you still want glowing, balanced skin. This green tea toner is the perfect solution: quick to make, easy to use, and packed with benefits.
Whether you’re looking for a skincare toner that works with your combination skin or just want a break from synthetic ingredients, this one’s worth trying.
And if you love simple, affordable beauty solutions like this, you’ll probably want to try this DIY peppermint scalp treatment that’s perfect for refreshing dry, itchy skin.