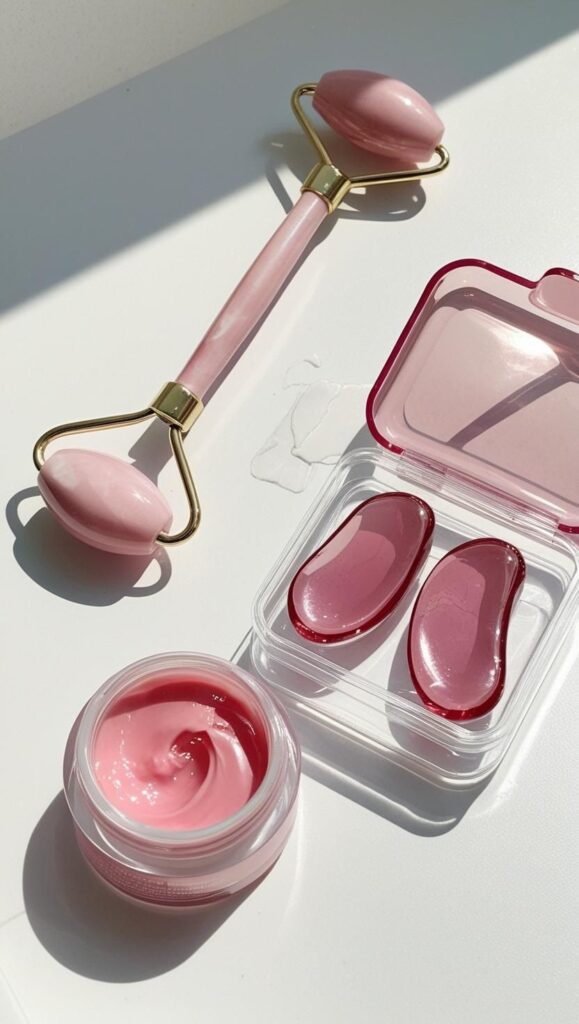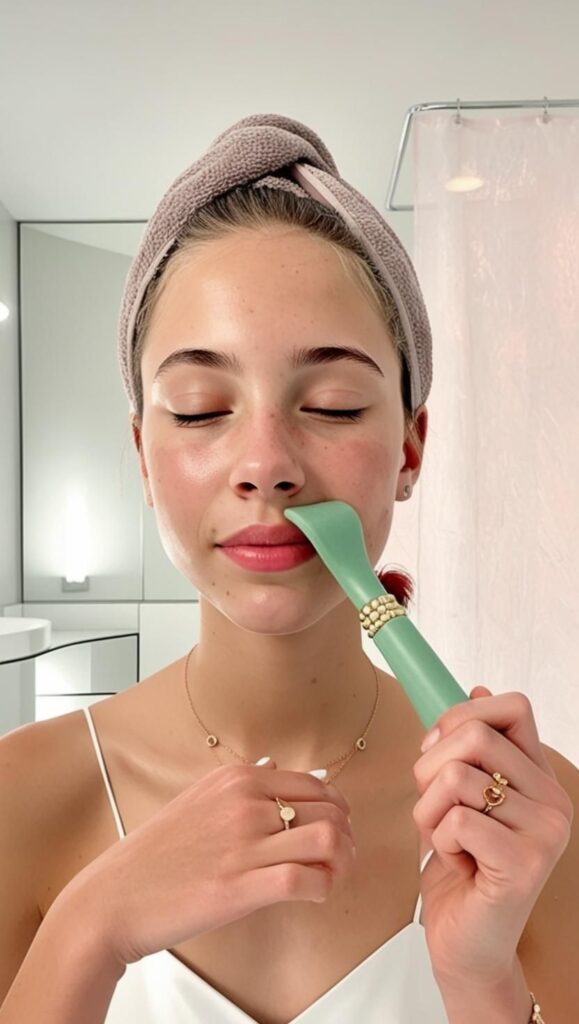
Want glowing, lifted skin without spending hours at the spa? A face roller massage might just be your new best friend.
Whether you’re after that snatched jawline, lifted eyes, or a de-puffed morning look, this easy beauty tool can do it all—with just a few minutes a day.
Here’s everything you need to know about the face roller routine, plus step-by-step face massage techniques you can try right now.

I get commissions for purchases made through some of the links in this post. There is no extra cost to you. See my full disclosure here.
P.S. Don’t forget to check out our post on this aloe vera ice cube hack—it pairs perfectly with your face massage routine.

Supplies You’ll Need
- Clean face roller (jade or rose quartz is ideal)
- Facial oil (like pomegranate seed, jojoba, or argan oil)
- Towel or headband to hold back hair
- Mirror and clean hands
- 5–10 minutes of calm, self-care time

How to Do a Face Roller Massage at Home
Step 1: Start with Clean Skin
Wash your face and pat dry. You want a clean base so your roller glides easily and doesn’t trap dirt.
Step 2: Apply Facial Oil
Pick your favorite facial oil—pomegranate seed oil is great for glow and elasticity. Use 2–3 drops and gently massage it into your face using your fingertips. This step preps your skin and helps the roller move smoothly.
Step 3: Forehead Lift
- Place the roller between your eyebrows.
- Roll upward toward your hairline.
- Do this 5 times, then repeat on each side of your forehead.
- Benefits: Releases tension, reduces frown lines, and tones the forehead.
Step 4: Brow Lift
- Position the roller on the inner edge of your eyebrow.
- Glide it outward along the brow bone.
- Repeat 5 times on each brow.
- Benefits: Tightens skin above the eyes and creates a lifted look.
Step 5: Under-Eye De-Puff
- Gently place the roller at the inner corner below your eye.
- Roll outward toward your temple.
- Repeat 5 times per eye.
- Benefits: Reduces puffiness, tired eyes, and dark circles.
Want more under-eye help? Try our viral egg white face mask for brightening.
Step 6: Smooth Mouth Area
- Roll from one side of your mouth to the other, right above the upper lip.
- Focus on smile lines and lip wrinkles—do this 5 times.
- Then roll from the corners of your mouth upward to the cheekbones.
Step 7: Sculpt the Jawline
- Start in the center of your chin.
- Glide the roller along the jaw toward your ear.
- Do this 5 times on each side.
- Benefits: Helps reduce double chin and sculpts your jaw.
Step 8: Tighten the Neck
- Roll upwards from the collarbone to the jawline—never drag downward.
- Repeat 5 times.
- Then move side to side along the sides of your neck.
When Should You Use a Face Roller?
For best results, use your roller:
- In the morning to de-puff and wake up your face
- At night to relax, de-stress, and enhance product absorption

What Are the Benefits of a Face Roller?
- Boosts circulation and lymphatic drainage
- Reduces puffiness and inflammation
- Enhances glow and smoothness
- Can help reduce fine lines with consistent use
- Creates a calming moment of self-care
You’ll see subtle results after just one use—and even more with consistent daily practice.

Before and After: What to Expect
Before: Puffy, tired-looking skin
After: Smooth, glowing, lifted appearance
For long-term changes, use your facial roller daily. Pair with a solid skincare routine for amplified results.
Final Tip: Add This to Your Beauty Routine
If you’re loving this sculpted face routine, you’ll want to try our DIY green tea overnight face mask next. It’s a natural way to hydrate and soothe your skin overnight.